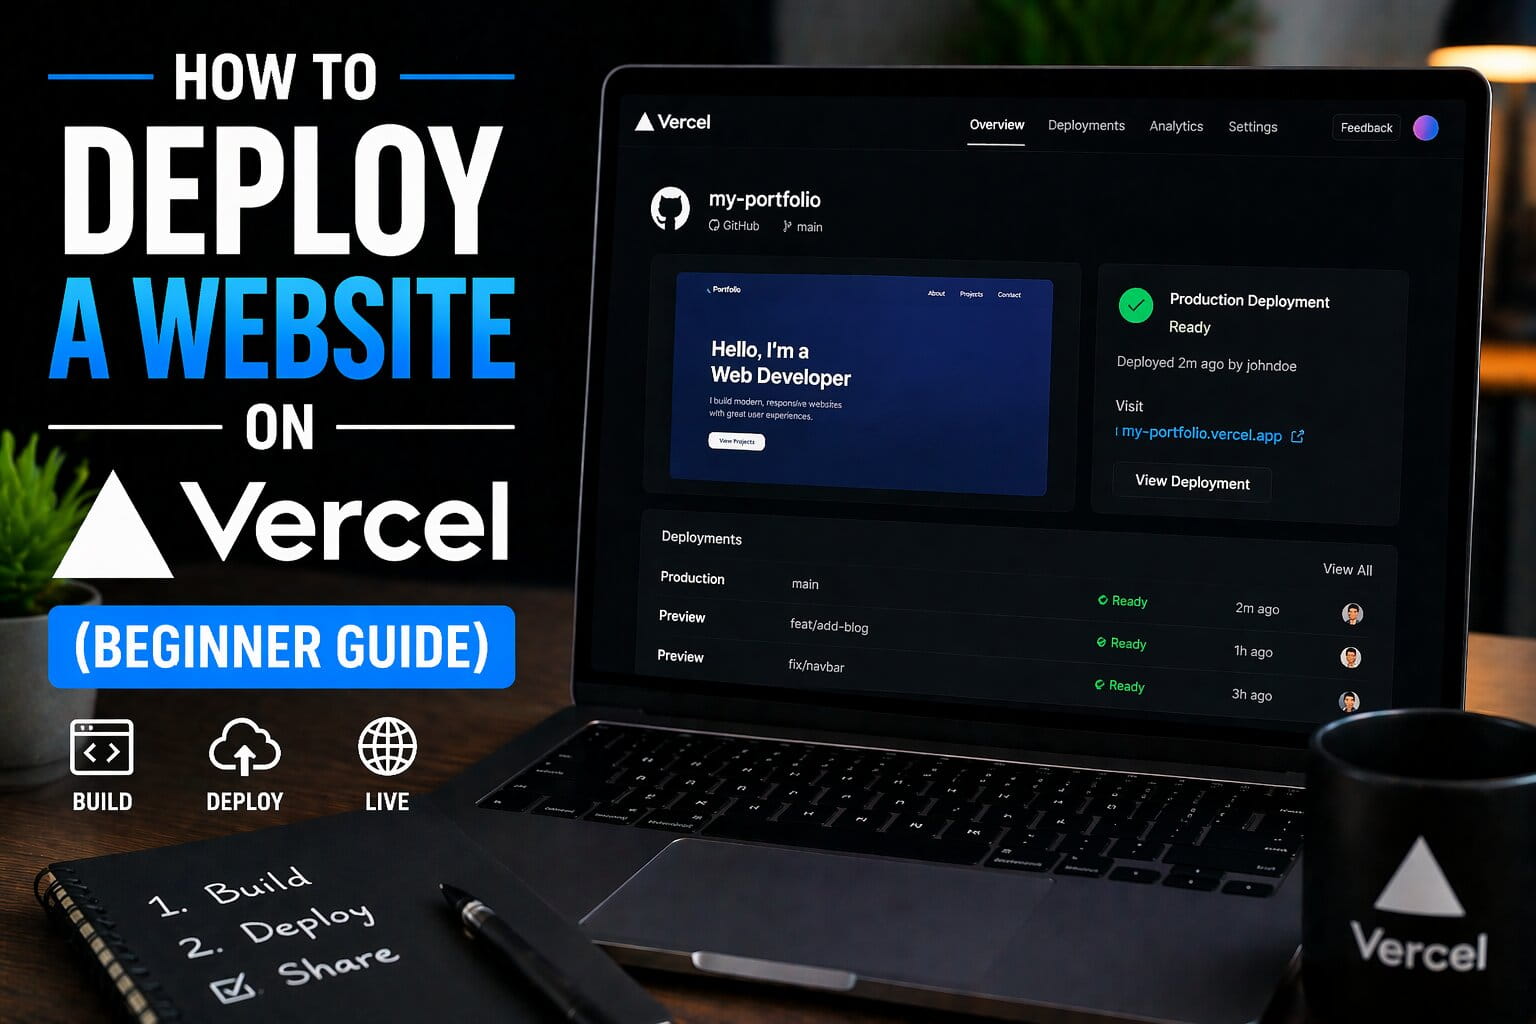
How to Deploy a Website on Vercel (Beginner Guide)
Deploying a website can be a daunting task for beginners, but Vercel makes it easy with its simple deployment process and seamless integration with GitHub and GitLab. Whether you're building a static site or a dynamic web application, Vercel offers a fast, reliable, and free platform to get your site live on the web. In this beginner-friendly guide, we’ll walk you through the steps to deploy your website on Vercel, from setting up your project to seeing it live on the internet. (vercel.com)
Vercel's platform is known for its ease of use, speed, and great developer experience. If you're new to deploying websites, Vercel takes the complexity out of hosting and makes it accessible for anyone to deploy and scale web projects effortlessly. In this guide, we will cover how to connect your project to Vercel, configure your site, and troubleshoot any issues you might encounter during the deployment process.
What is Vercel?
Vercel is a cloud platform designed for frontend developers to deploy websites and applications with minimal configuration. It is particularly popular among JavaScript, React, and Next.js developers but supports a wide range of frameworks and static sites. Vercel provides continuous deployment (CD), global content delivery, and serverless functions. It is designed to handle everything from simple static websites to complex, dynamic web applications.
Vercel's main selling points are its simplicity and developer-focused features like automatic previews, instant rollbacks, and easy integration with Git repositories. Vercel’s platform is optimized for performance, allowing your website to load quickly from any location globally due to its built-in Content Delivery Network (CDN).
Why Use Vercel for Website Deployment?
Vercel stands out for several reasons, including:
- Ease of Use: Vercel's interface is simple, and deployment is fast. You can deploy your website with a few clicks.
- Free Tier: Vercel offers a robust free tier that includes unlimited deployments, automatic HTTPS, and serverless functions, making it perfect for beginners.
- Global CDN: Your site is automatically served from Vercel’s global content delivery network, ensuring fast load times.
- Automatic Git Integration: Vercel integrates seamlessly with GitHub, GitLab, and Bitbucket, allowing you to deploy websites directly from your repositories.
Overall, Vercel simplifies the deployment process, making it ideal for beginners who want to get their website online quickly and without dealing with complex server setups.
Step 1: Create a Vercel Account
Before you can deploy a website on Vercel, you need to create an account.
- Visit Vercel's homepage and click on the Sign Up button.
- You can sign up using your GitHub, GitLab, or Bitbucket account, which is highly recommended as Vercel integrates directly with these Git providers for continuous deployment.
- After signing up, you will be redirected to your Vercel dashboard, where you can manage your projects.
Why You Should Sign Up with GitHub:
Signing up with GitHub allows Vercel to automatically connect to your repositories, enabling automatic deployments every time you push new code. This is especially helpful for developers who prefer working with Git for version control.
Step 2: Install Vercel CLI (Optional but Recommended)
Although Vercel’s web interface is intuitive and sufficient for most users, the Vercel CLI (Command Line Interface) provides additional control and flexibility. You can use the Vercel CLI to deploy projects, inspect deployments, and perform other actions from your terminal.
To install the Vercel CLI:
- Open your terminal or command prompt.
- Run the following command to install the Vercel CLI globally:
- Once installed, run
vercelto authenticate with your Vercel account and start deploying projects directly from your terminal.
This step is optional, but the CLI provides a streamlined experience for developers who are comfortable with the command line.
Step 3: Prepare Your Project for Deployment
Before deploying your project to Vercel, make sure your project is ready for deployment. If you’re using a framework like Next.js, React, or Vue.js, Vercel will automatically detect and configure the appropriate settings during deployment. For static websites, you simply need to have the website files (HTML, CSS, JavaScript, and assets) ready to go.
- For a Static Website: If you are deploying a static website, ensure that your website’s files are organized and that you have an
index.htmlfile as the entry point for your site. - For a Framework-based Website: If you're using a framework like React or Next.js, make sure your project is properly built (e.g., using
npm run buildoryarn build).
Tip:
For framework-based projects, Vercel automatically builds your project for you. For example, if you're using Next.js, it will run the next build command automatically during deployment.
Step 4: Connect Your Repository to Vercel
Now that you have a project ready, it’s time to deploy it to Vercel. The easiest way to deploy is through GitHub, GitLab, or Bitbucket.
- In your Vercel dashboard, click on the New Project button.
- Select the Git provider (GitHub, GitLab, or Bitbucket) that holds your project repository.
- Authorize Vercel to access your repositories and select the repository you want to deploy.
- Vercel will automatically detect your project type (React, Next.js, static site, etc.) and configure the build settings for you.
If you're using a framework like Next.js, Vercel will automatically optimize the deployment process. If you’re deploying a static website, Vercel will ask you to select the public folder as the root directory for your site (if it’s not set already).
Step 5: Deploy Your Website
After connecting your repository, Vercel will automatically start the deployment process. This involves building your project (if applicable) and deploying it to their cloud infrastructure.
- Once the repository is connected, Vercel will initiate the build process automatically.
- You’ll be able to see the deployment progress in the Vercel dashboard.
- After deployment, Vercel will provide you with a unique URL where you can view your live website.
Why Vercel Is Great for Continuous Deployment:
Whenever you push updates to your repository, Vercel will automatically redeploy your website. This continuous deployment (CD) setup ensures that the live version of your site is always up to date with your code changes.
Step 6: Configure Your Custom Domain (Optional)
Vercel makes it easy to link a custom domain to your project. To do this:
- Go to your Vercel project dashboard and click on the Settings tab.
- Scroll down to the Domains section.
- Click on Add Domain and enter the domain name you wish to use.
- Follow the instructions provided by Vercel to set up your DNS records with your domain registrar (e.g., GoDaddy, Namecheap, Google Domains).
- Once your DNS records are set, your custom domain will point to your Vercel-hosted website.
Tip:
If you don’t have a custom domain, Vercel provides free, auto-generated domains like your-project-name.vercel.app, which you can use to access your site immediately.
Step 7: Monitor Your Deployments
Vercel provides detailed logs and performance insights to help you monitor your website’s health. In the Vercel dashboard, you can:
- View logs for each deployment.
- Check build status and error messages.
- Track performance metrics like loading times and serverless function usage.
- Roll back to previous versions of your website if necessary.
This level of visibility is especially helpful when managing large-scale web applications.
Conclusion
Deploying a website with Vercel is straightforward, efficient, and ideal for developers who want to focus on building their projects rather than managing infrastructure. With seamless GitHub integration, automatic deployments, and global content delivery, Vercel makes it easy to launch static and dynamic websites with minimal setup.
Whether you’re working on a personal project, a client website, or a team project, Vercel’s platform provides the scalability, speed, and simplicity needed to get your site live in minutes. Follow the steps in this guide, and you’ll have your website deployed and accessible in no time.
Related Articles
How to Optimize Website Speed (Complete Beginner Guide)
Apr 14, 2026How to Secure Your Website (Basic Web Security Guide)
Apr 14, 2026How to Build a Simple App Using AI Tools (No Coding Needed)
Apr 14, 2026Best AI Coding Assistants for Developers in 2026
Apr 14, 2026How to Use AI to Write Code Faster (Beginner Guide)
Apr 14, 2026Get Updates
Subscribe to get the latest articles delivered to your inbox.